Wednesday, 21 October 2015

Life Drawing Session 5

Today we did the usual 3 minutes of 5 drawings each.


We then spent 10 minutes drawing him while he was walking around and again like last time I decided to do quick round and bulky drawings to get his shape and formations down as quick as possible instead of focusing on the details.


Then for 30 minutes we had to draw or rub out pieces of charcoal which which we covered the page in for 15 minute each. So we had to cover the page in charcoal and use a rubber to rub bits and pieces off, after rubbing some bits off, I found myself rubbing too much off so I decided to had some charcoal back on but ended up adding too much; making some of the outlines very noticeable.
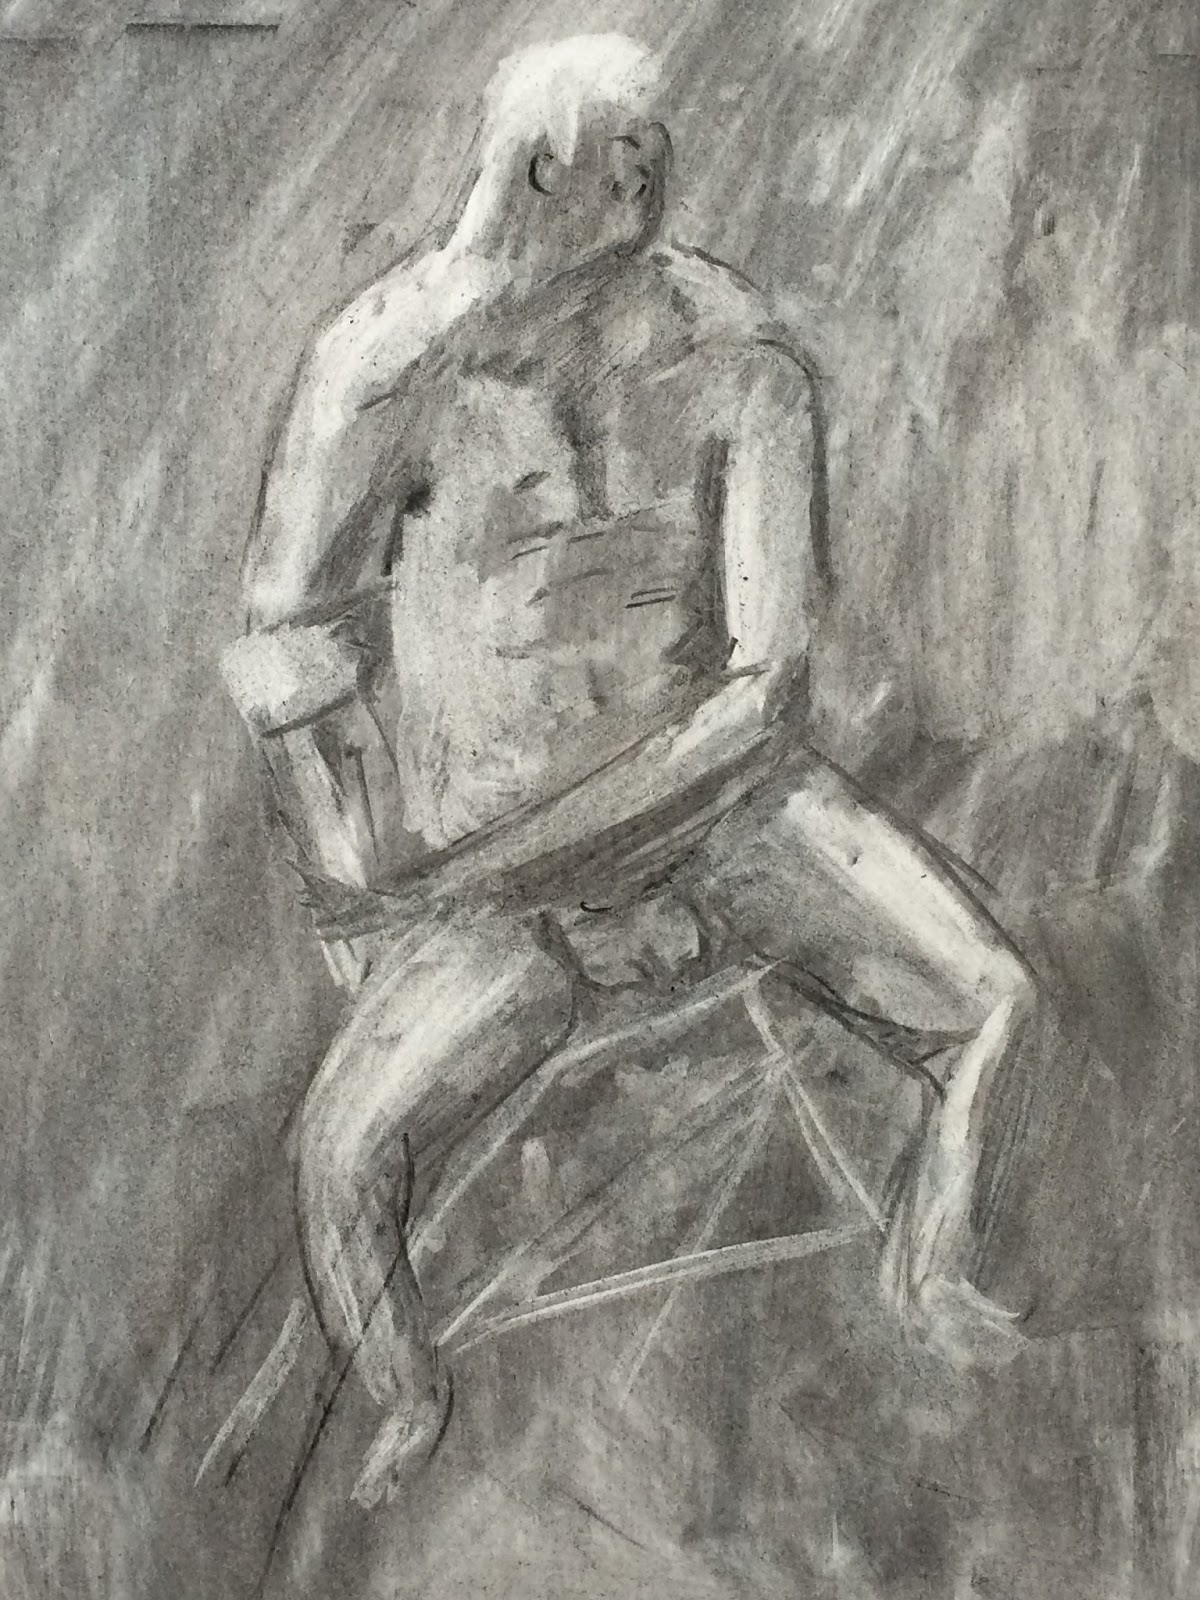

So during the second attempt. I went a little bit more easy on the rubbing out and adding more charcoal back on, I also smudge some of the place where it had both light and dark parts to creat a medium tone. I much prefer this one other the first one I did, it was very fun 


 During our last 30 minutes we had to use 2 different media and draw them next to each other and compare them at the end. On the left I used charcoal and on the right I used a green marker pen.
 I like the charcoal much more than the green marker pen because using the charcoal was much easier and faster. It was also much easier to get harder tonnes and lighter tonnes where I needed to shade, but compared to the green marker, it was a lot harder.


Tuesday, 20 October 2015

CGA 3D Art Production Lesson 5 - Stone Floor Tiling

We had to follow another tutorial which I did after class because we ran out of time in the lesson.
The tutorial was about creating a stone floor texture in Maya 2016

So first off by following the tutorial, i had to make at least 6 different cubes with different shape and sizes.


Then by using the grid as a base on Maya 2016, I placed the blocks around the grid, didn't matter if a block was completely in the grid, parts of it just had to be visible. Then I filled in the middle how ever we wanted.

Then I had to create two planes, one was used as a base to cover the missing kind of gap between the blocks, also named as the ground. a second plane which was going to be used to apply the baking on by using the Turtle Plug in.


So by using the Turtle plug in, we baked the blocks. When baking we had to have a Diffuse, Ambient Occlusion and Displacement layer or file.

Which we then took into Photoshop and and structured the layers like so.


We had to copy the 3 main layers and combine them.


Then I added a rocky texture to make it look more natural, the layer was Layer 2.


Then also add a bevel effect and some Sue/Saturation effect as well .


.


Monday, 19 October 2015

CGA 3D Art Production Lesson 5 - Blending Materials and Tiling Textures

In today's lesson out teacher showed us in a step by step tutorial on how to blend materials, so first we made a plain landscape in Maya 2016.


Then we had to go into hyper shade and open the Hyper Shade FX


Once opened we had to drag 3 texture maps, 2 LerpOp and a VertexColour onto the field. We then assigned the 3 texture maps with 3 different textures, being grass, mud and rocks. Then we had to join them all together in the right way which ended up looking like this. Once done, we can then close it or minimise it and then assign or drag the texture onto the terrain we made to get it some texture. 


When done, it was default as grass so we had to open the  Paint Vertex Colour tool under the Mesh Display tab. 


Different colours were assigned to the 3 different textures so think it was red, white and blue/black that was assigned to the textures. Once done selecting the colour and trying which was which, we painted our terrain/landscape.


CGA Visual Design lesson 5 - Lava!

Today we had a little look at lava! So first we had to start off with drawing lava , I used separate layers for each colour (yellow,orange and red) as well as using the multiplier layer to help the colours sink in. using a black background help you focus on the lava and also gives the illusion of it somewhat glowing but also adding some effects such as out glow and inner glow to help the brightness of the lava.


We then proceeded to add some lava to a rock monster to make it a lava monster picture that were provided down below. We had to use the magnetic lasso tool on Photoshop to only get the outline of the monster.


Then added a black background and upped the brightness and adjusted the contrast.


We then used a style pant provided for us to add the lava like layer onto the monster. What I found really effective is colouring or blocking in  a part over the rock monster ( on a new layer ) and then rubbing out the blocked layer using the soft round pressure size brush. I rubbed it out gently so some remains of the lava style still remains, so as you can see on some parts there are some red showing through as if its dried lava on the monster.


Friday, 16 October 2015

CGA Gameplay and Interactivity Lesson 4 - Scripting!

In today's lesson our teacher did a step by step tutorial showing us how to script, the script was to make it so when we press a button with a certain distance turns a light on and off, as well as adding some sound to it. 

When going through it I understood the basics of scripting but was still a bit confused or didn't quite understand some parts but still managed to follow his instructions without trouble, I never scripted before and I know it won't be that easier but hopeful with enough practice or advice from my teacher, I will get the hang of it.


Wednesday, 14 October 2015

Life Drawing Session 4


During our lesson today, we did the 3 minutes each of 5 drawings of out model.


After we had to do some quick sketches/drawings of our model walking around in a circle for 10 minutes to help us get the basic shape and posture of the body in different angles. I found it quite different as he was constantly moving so that why I didn't try to add in a lot of detail but tried to just get the basic shape of the body so I drew circles and blocks.


We then spend 15 minutes each on 3 drawings, but this time we had to draw each pose in 3 different media to see how our brain reacts to how we draw differently. The first one I did in pencil ( top left) , it took me a lot longer to draw this one compared to the other media's I used because I liked everything to be neat and had more detail.

 The second one , I used a brown marker pen which was a lot faster but was much harder to shade in the darker areas. So I did some cross hatching  to do the shading which I found effective when you look at it at a far distance.

The last one I used a green crayon, which I liked the most and the most easiest one to use  because the shading was much easier to do.


Tuesday, 13 October 2015

CGA 3D Art Production Lesson 4

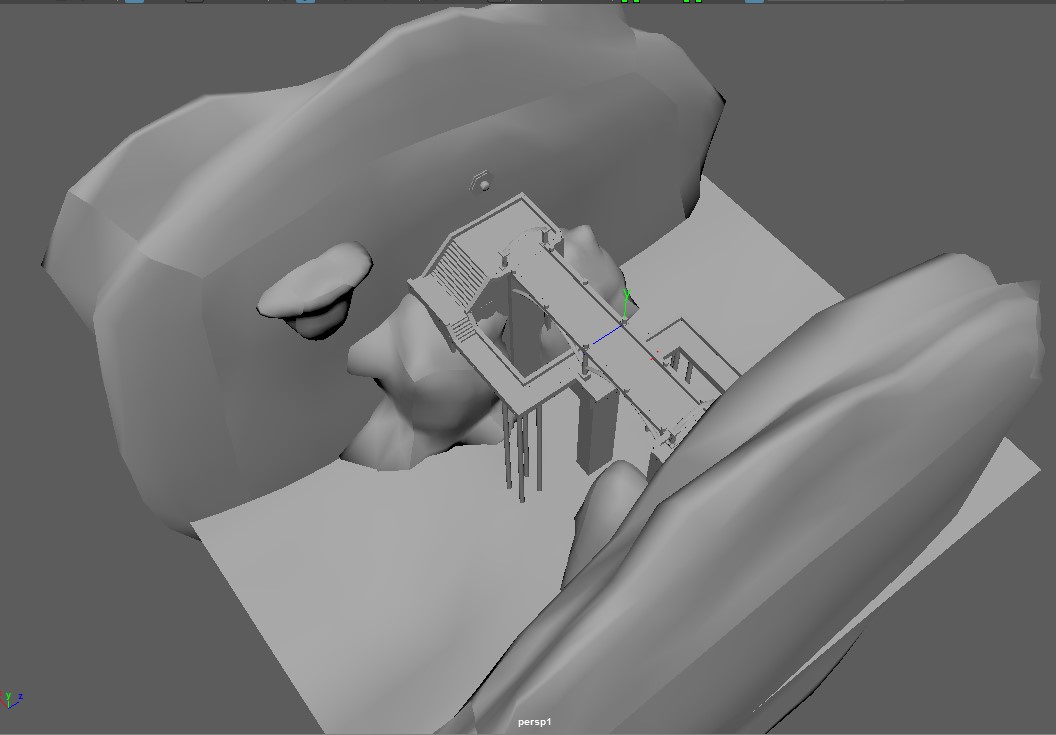
In the lesson, we continued to model our Battle Arena's. So I used my rock I created last time and expanded it to form the mountains/ cliffs in my Arena. I have also added bumps and drenches on the plane flat land to make it more like a river that has waves in it.