Monday, 7 March 2016

Friday, 4 March 2016

CGA Gameplay and Interactivity Week 21 - Score and Main menu

So In our lesson we did a score system and main menu for the little game our teacher is doing with us to help us with our game. As I said in my last post I have already done a score system and a main menu before the lesson started so it wasn't too difficult but it did refresh my memory on how to get the buttons working for the main menu. I find that part quite hard to remember after watch a video on main menus.


This script was put on a image object which is the child of a Canvas within the scene

We also changed the enemy script a bit to make them give us points when they die.


CGA Gameplay and Interactivity - (Group Project) Score System and Pause Menu

I have done a score system which means the gems finally have a purpose in this game!


One of my group members have done the Pause Menu will all functioning buttons and can be accessed by pressing the esc button.


I have also added a something to the weapon script implementing a cooldown system for the staff.


After doing this, we went into our gameplay and interactivity lesson only to find out that we were going to do a score system and main menu... oh well it didn't matter to much I still did the lesson just in case I could pick up something I may have missed.


CGA Visual Design - Tree


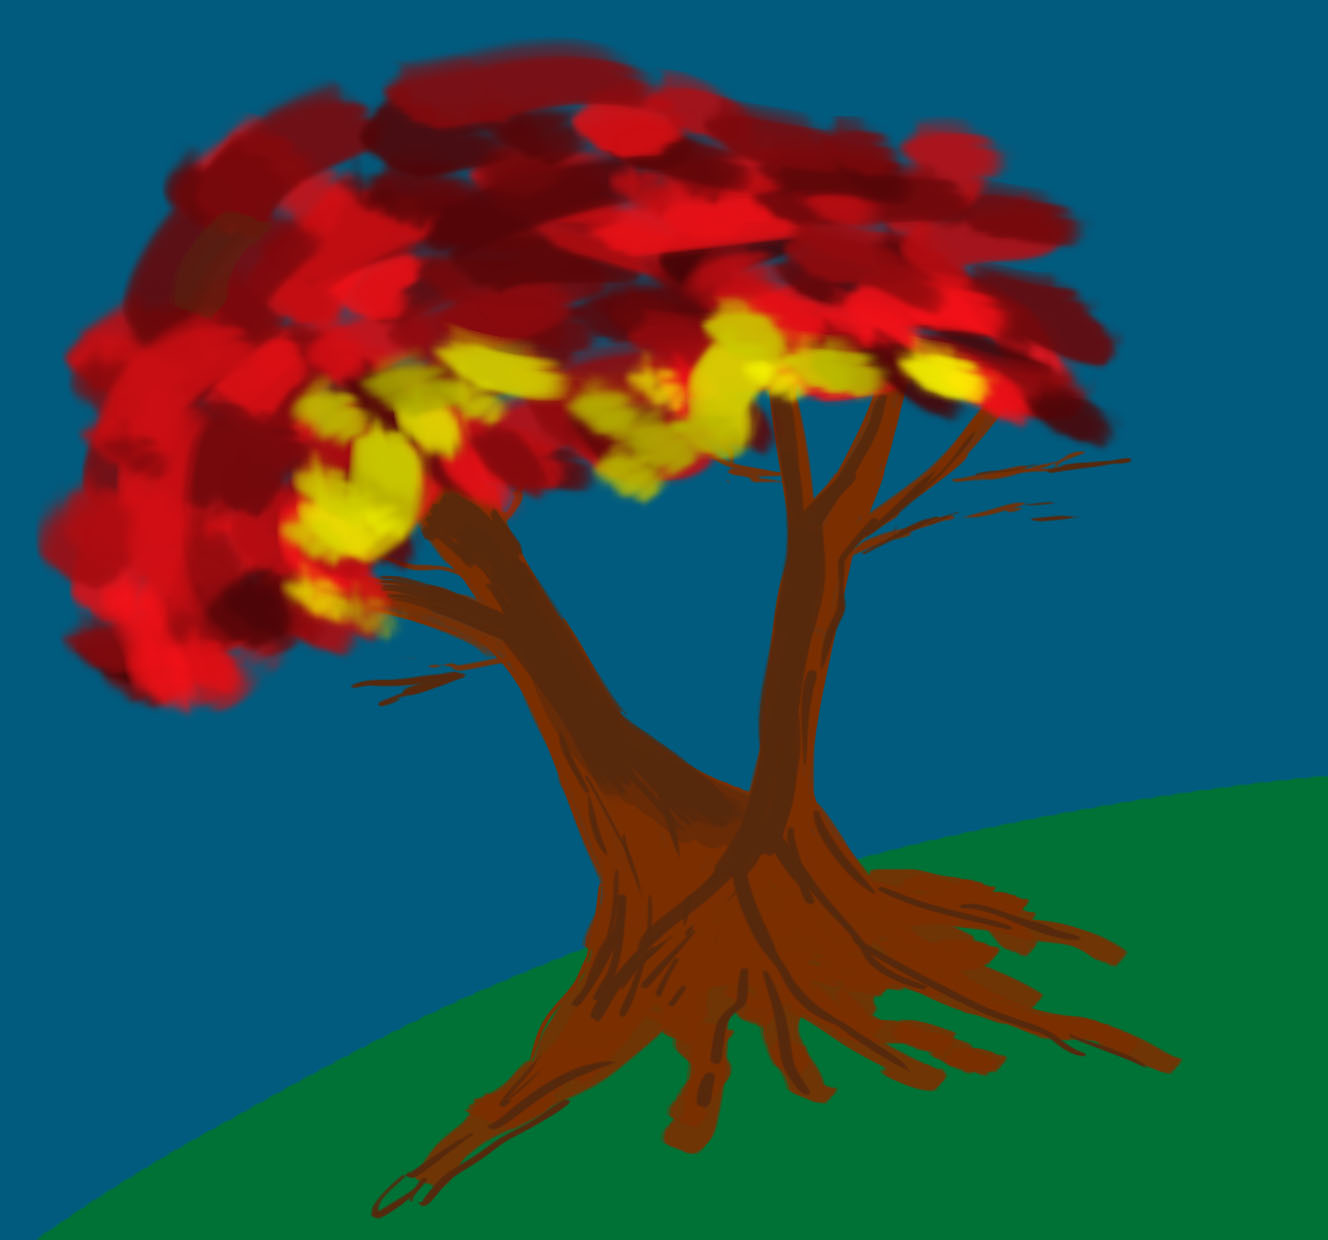
For additional work we had to do a painting or a tree with character, something that defines the tree so not like a tree with a face on it although I would like to do one which I may.

I first got a mood board of some trees, was looking more at how the branches form and expand out more than the type of tree they were but I did also take the type of tree into consideration and looked researched them more.


I first did some doodles of some plants or tree depending on how you would look at it just for fun.


 I then moved it onto some quick concept art , nothing was official and I wanted to get ideas out of my head. I was mainly looking at brush techniques and the kind of style I want to use to paint my final tree.


So for my tree I kinda knew what I wanted it to look like so I started off by sketching out the outline.


I then just roughly colour in my tree and added in the background, at this point the ground where the tree is on didn't matter too much to me although being a important aspect to the painting. I wanted to make sure it suited the trees characteristics.


After adding the background and colouring it in a bit, I then added the ground or dirt as well as starting with the leaves of the tree.


I then continued to add more depth and detail to the tree trunk and leaves.


After finishing painting in the trees I then added some grass to it.


Then added some lighting and shadows to finish it off.


After finishing my painting I added a Panda! ,because why not?


After getting some feed back from some friends, I changed the grass which I was planning to do some time anyway. So instead of using a brush which made things easy in the first place but it was within a set colour range which I couldn't choose., I wanted to paint some grass for practice using different tones of green which looks much more better.


Thursday, 3 March 2016

CGA Gameplay and Interactivity - (Group Project) Improved Enemies and majorly stuck

I have made a new script for the slimes where it will walk back wards and forwards in certain areas like they are patrolling instead of making them move towards the player.


 Now the part where I'm majorly stuck is a new script for the bat's which I have been working on for quite a while just trying to get it to work. I tried to do a raycast which will constantly target the player and will hit the player when it is visible or when there isn't a wall or something blocking the raycast. So when the bat "see's " the player it would then move towards him but the problem is that it isn't hitting the player at all. This is a major issue and I don' quite know how to fix it but for now I guess ill leave it as following the player when you enter the level.


Wednesday, 2 March 2016

Life Drawing Session 19

We did the usual 3 minutes each for 6 quick drawings to warm us up.


We then spent 15-20 minutes on 2 drawings. For this we just drew the outline of our model and focused more on the background or what was surrounding the model.


Then we spend about 20 minutes each on the last 3 drawings looking at the models body and seeing how close which parts of her body was compared to the rest therefore making some parts appear far bigger than the rest.